
Quickstart Guide: Motorbunny Jack
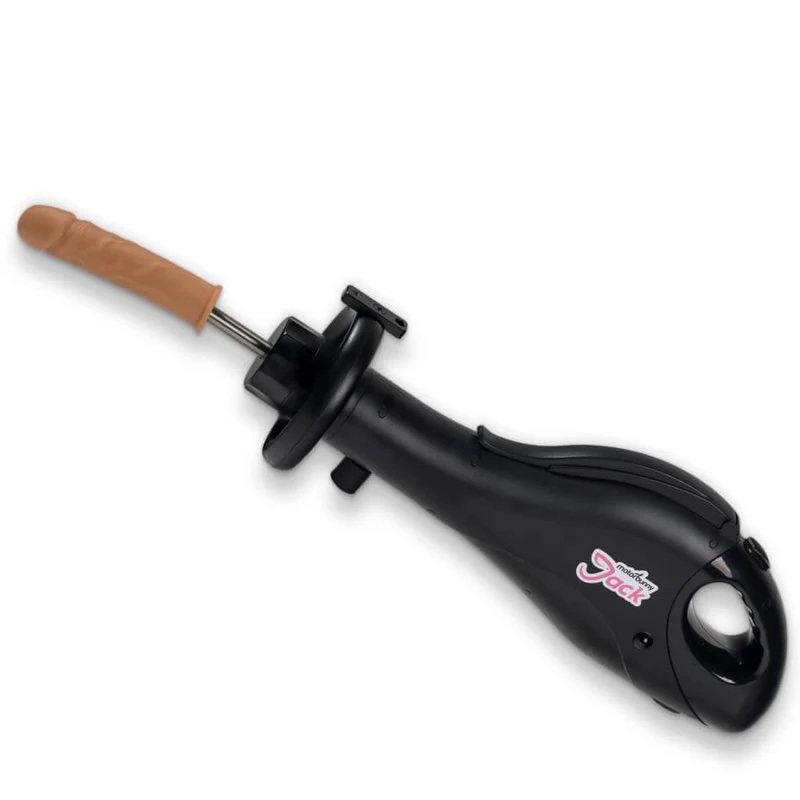
Downloadable configuration guide
The full Jack Configuration Guide is available as a PDF: Download Motorbunny Jack Configuration Guide (PDF)
This PDF covers all five mounting configurations with illustrated steps.
Before your first use
Decide which mounting configuration you want to start with (see below).
Assemble the appropriate hardware from the kit.
Attach a Vac-U-Lock dong or compatible attachment.
Set the thrust depth dial to minimum before powering on.
Have water-based lube nearby.
Mounting configurations
1. Backpack
Wear the Jack as a backpack for hands-free thrusting from behind. Use the included backpack mounting system.
2. Shoulder harness
Wear the Jack over one shoulder for free-hand positional control. Attach using the shoulder harness.
3. Jack Saddle
Sit-on, first-person positioning. Place the Jack Saddle on a firm surface and mount the Jack to it.
4. Suction plate
Mount the Jack to any flat surface using the suction plate adapter (included).
5. Mattress clips
Clip the Jack to the edge of a mattress using the included mattress attachment clips.
Controls
Thumb dial: Adjusts thrust speed directly on the machine (65–210 TPM)
Manual wireless controller: Included for remote adjustment without the app
Fluffer app: Full wireless control from your phone, including Gaming Mode
Thrust depth adjustment
The thrust depth adjusts from 2 to 4 inches. Adjust the depth using the depth control on the machine body before powering on.
First-use tips
Start at minimum speed (65 TPM) and increase gradually.
Set depth to minimum for your first session.
Refer to the PDF Configuration Guide for illustrated setup steps.
Related
Last updated in v1.3.0